Friday, December 30, 2011
Handmade Giant Door
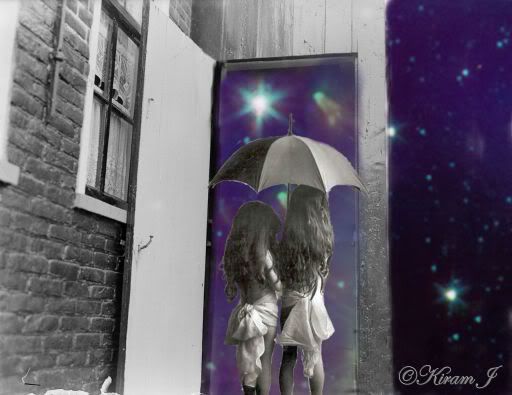
My husband is building a room off from our basement. He said we needed a wide door in case we needed to move anything large out or in. My reply was, "Well, make it a giant door then!" He used a stained glass window bought while antiquing. I love this door! It is gigantic and beautiful! The door handle has not been added yet because we have not decided what we want to use yet. I will post more pics once it's finished.


Sunday, December 4, 2011
Handmade Holiday Tree
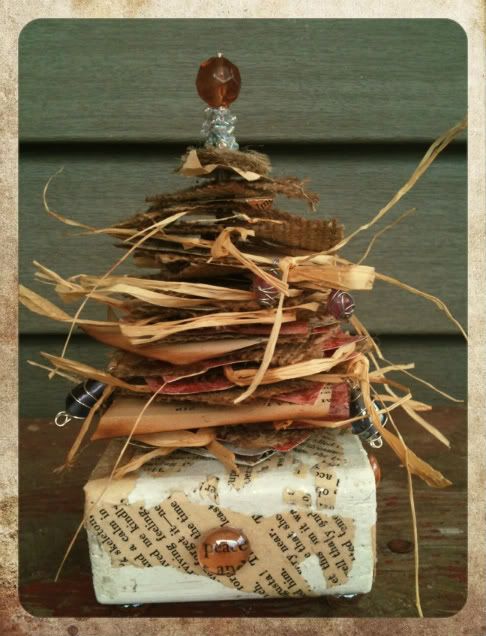
Items needed:
Wooden block
Old book pages
Handmade paper
Burlap
Raffia
Square piece of cardboard
Beads (seed beads, large bead & wire-wrapped beads)
Glitter
Glass beads
Paint (white)
Stamping ink (Brown)
E-6000 glue
Hot Glue
Directions to make your very own tree:
1. I have tons of scrap wood around our house due to our ongoing projects around the house. Hopefully, you do as well. ;-) Cut the wood to your preferred size and sand away the splinters. Paint it white and set aside to dry.
After drying, use mod podge to glue torn old book pages to the top and sides. Then sprinkle with glitter. This will be the base for your tree.
2. Paint your square piece of carboard white. (You should really do this while you are painting your block.) After drying, puncture it through the large nail. This will be the base of your tree.
You will then alternate the handmade paper, burlap, raffia, and old book pages. Use larger pieces for your base and gradually have them get smaller as you work your way to the tip of the nail.
Use the brown stamping ink to distress the edges of your book pages.
3. Hot glue the glass pebbles to the bottom of your wooden block for feet. If they are slightly uneven, use a dab of hot glue on the shorter ones to balance out your wooden block.
4. Use the E-6000 to glue the head of the nail (the base of your tree) to the top center of your wooden block. After allowing it to dry a bit, coat the tip of the nail with E-6000 glue and add a large bead at top. Then add clear seed beads below the larger bead. I also added one single seed bead to the top of the large bead for a more finishing touch.
5. Add the wire-wrapped beads for ornaments.
6. Finish it off with word glass pebbles placed on all four sides in the center. I used peace, faith, heart, & spirit on mine.
If you don't have all of the exact same supplies, improvise! I encourage you to make it in your own unique style. After all, that is what creativity is.
If you make one, please feel free to comment with a link showing off your own creation!
Labels:
DIY and Tutorials,
Holidays of Winter,
Mixed Media
Monday, September 5, 2011
Halloween Swap
Sloth
Friday, August 26, 2011
Thursday, August 18, 2011
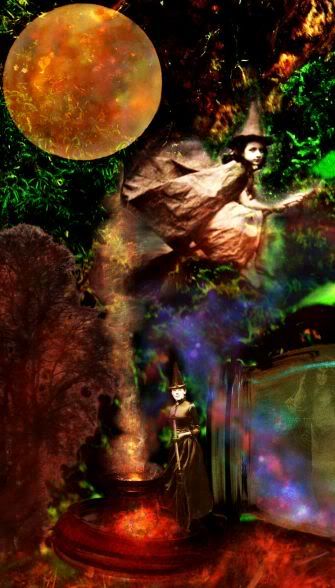
Halloween's Arrival

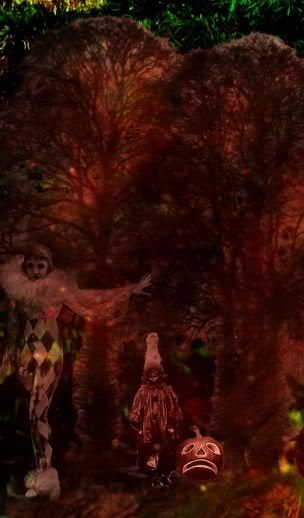
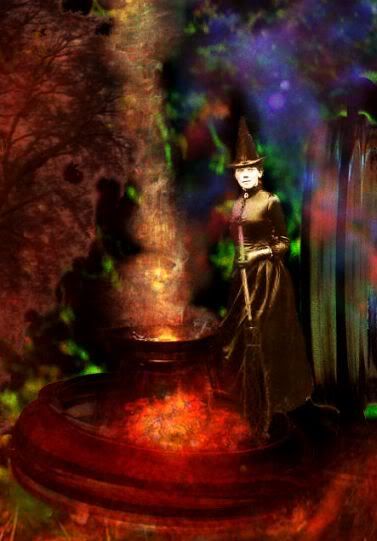
The Fall season and Halloween will soon be at our doorsteps. The Halloween celebrants are waiting for that night and starting to slowly come out from hiding...creeping out and spilling over into the Summer season to claim their time once again.
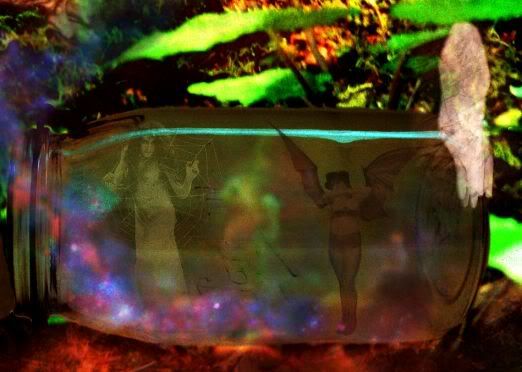
Collage Obsession: Clear Glass (I used a clear canning jar)
Up-close sections of the piece:

Tuesday, August 16, 2011
Lady of the Heavens
Tuesday, August 9, 2011
Greed
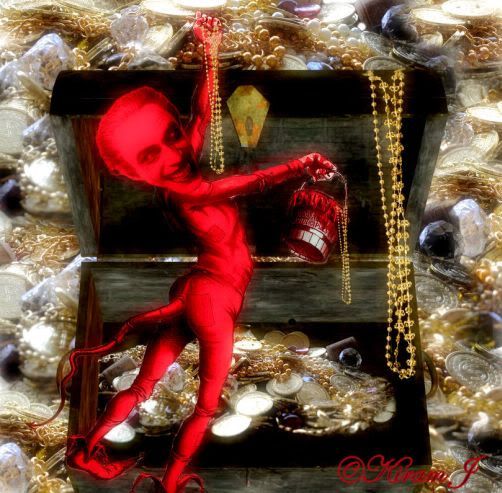
Collage Obsession Challenge: Greed - The 7 Deadly Sins
Greed's motto: "More, More, More...never enough gold, jewels, and souls"
Special thanks to the following stock providers from deviantART:
Coins, Necklaces: PirateLotus-Stock
Treasure Chest: Moonchilde-Stock
Sunday, August 7, 2011
Her Piracy

Sunday Postcard Art Challenge: Pirates
Special thanks to the following stock providers from deviantART:
Model: mizzd-stock
Parrot, Barrel, Coins, Necklaces: PirateLotus-Stock
Ship: CAStock
Sky/Moon: wyldraven
Thursday, August 4, 2011
Gluttony
Thursday, July 7, 2011
8th Anniversary Swap
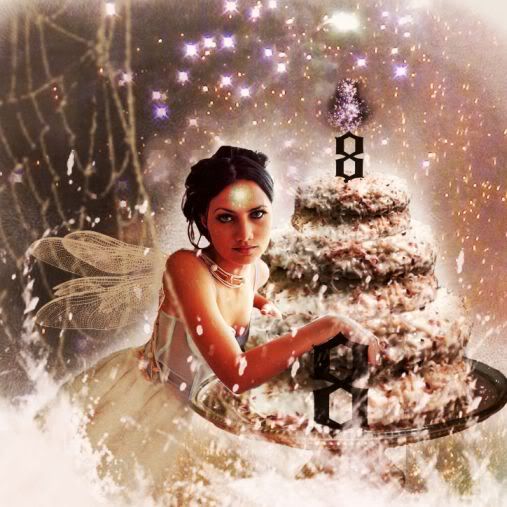
I created this piece for an 8th Anniversary swap I am participating in with the abc_alteredbookclub yahoo group.
A special thanks to the following stock photo providers from deviantart.com:
Model Stock provided by: Bugidifino
Spider Web: wyckedBrush
Water: redheadstock
#8: RenjiAbaraiGR
Sparkle Lights: pendlestock
Monday, July 4, 2011
Saturday, June 18, 2011
Moonlit Flight
 Please click on the image for a larger view.
Collage Obsession Challenge: Boats & Ships
Special thanks to the following people for sharing their wonderful stock images:
Model: Mizzd-stock http://mizzd-stock.deviantart.com/
Desert Rock: http://greenleaf-stock.deviantart.com/
Boat: http://banana-workshop.deviantart.com/
Moon/Sky: http://wyldraven.deviantart.com/
Thursday, March 3, 2011
Sunday, February 27, 2011
Saturday, February 26, 2011
Love Shack
Sunday, February 20, 2011
Monday, February 14, 2011
Saturday, February 12, 2011
Valentine Ornaments
I created these ornaments to hang on my "holiday tree" which is now decorated for Valentine's Day but you can hang these anywhere...from drawer knobs to door knobs to anything else you think of.
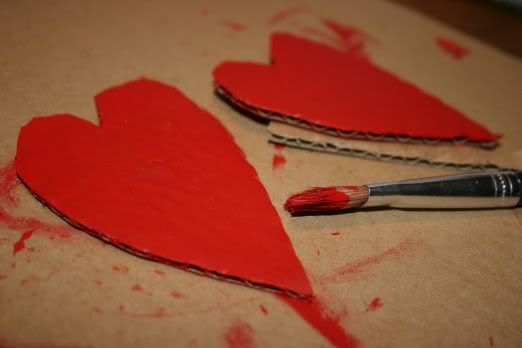
I cut hearts from cardboard and painted them.
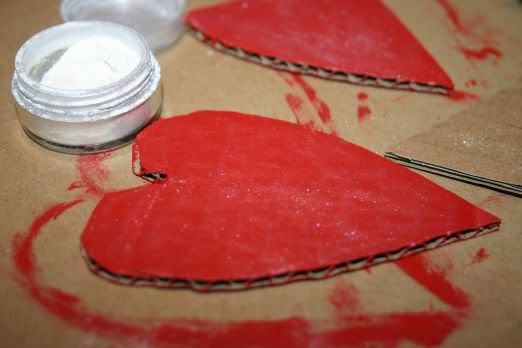
I then added a pearlescent sheen to the hearts using Perfect Pearls.
I then glued on the heart-shaped pictures and used red glitter glue to add dots around the picture. It was finished off by making a hole at the top and tying ribbon and black fiber-yarn through it to hang.
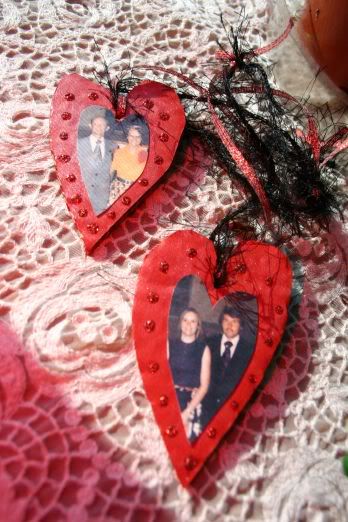

Improvise on this idea by using love quotes, vintage pics, or anything to your heart's desire. ;) If you create your own version of a valentine ornament, comment and add a link to your blog so I can come see your creations!
I cut hearts from cardboard and painted them.

I then added a pearlescent sheen to the hearts using Perfect Pearls.

I then glued on the heart-shaped pictures and used red glitter glue to add dots around the picture. It was finished off by making a hole at the top and tying ribbon and black fiber-yarn through it to hang.


Improvise on this idea by using love quotes, vintage pics, or anything to your heart's desire. ;) If you create your own version of a valentine ornament, comment and add a link to your blog so I can come see your creations!
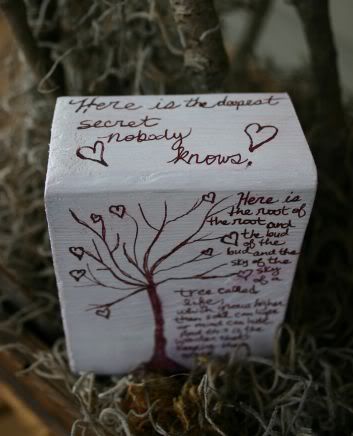
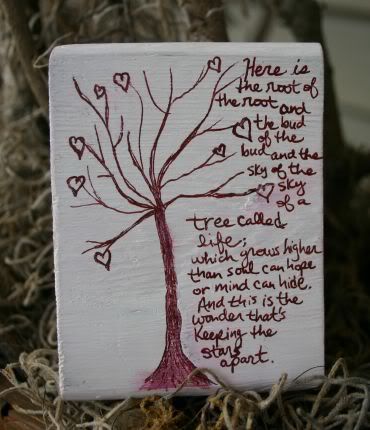
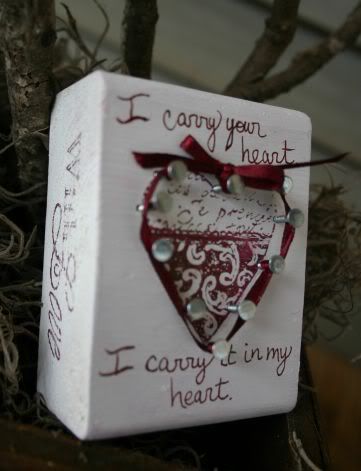
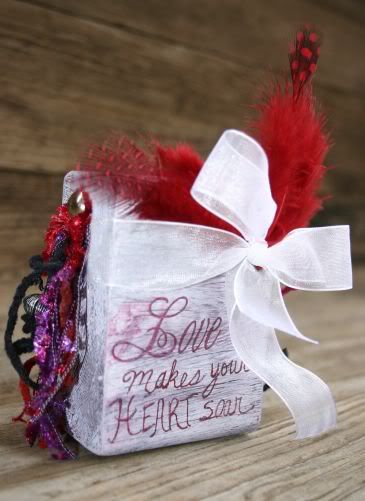
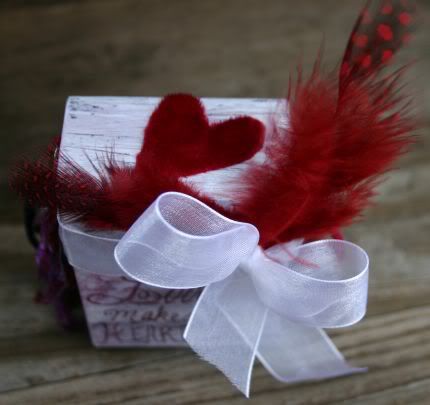
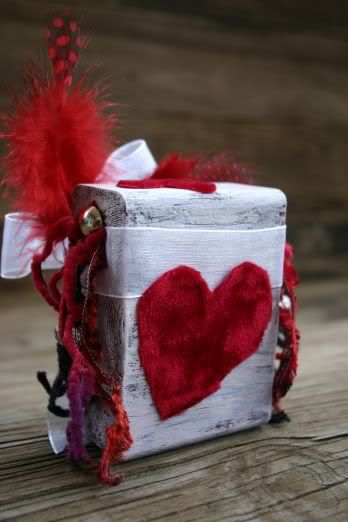
Valentine Altered Trading Block
I recently participated in an Altered Trading Block(ATB) swap that was arranged by Aileen of Aileen’s Musings.
The first block I created featured the writing of E.E. Cummings on it.
and here is the second...
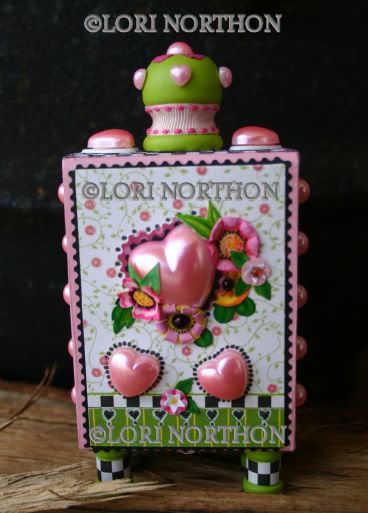
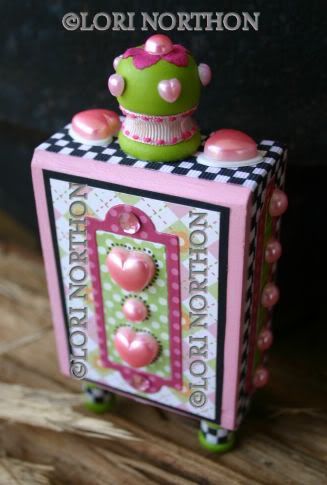
The following ATB's are the beautiful creations I received from my wonderfully talented ATB partner, LORI NORTHON. The amount of detail in her creations are amazing!!! These beauties are proudly on display in my home and on this blog! =D
Lori has created some wonderful art pieces and posted them on her Flickr photostream account. If you would like to view more of her beautiful creations, please click here.
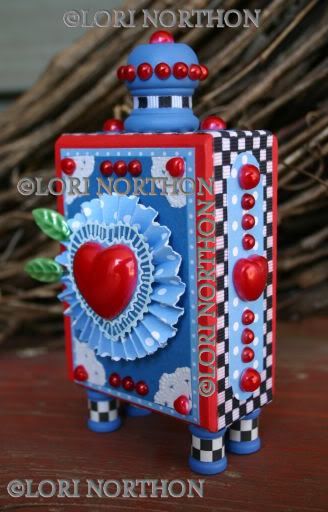
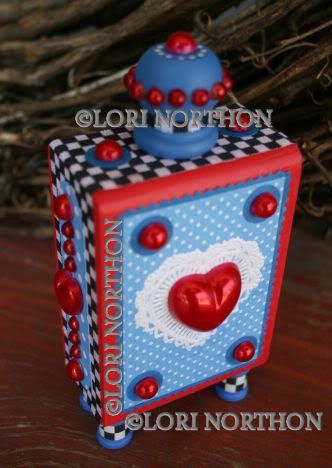
The first block I created featured the writing of E.E. Cummings on it.


and here is the second...


The following ATB's are the beautiful creations I received from my wonderfully talented ATB partner, LORI NORTHON. The amount of detail in her creations are amazing!!! These beauties are proudly on display in my home and on this blog! =D
Lori has created some wonderful art pieces and posted them on her Flickr photostream account. If you would like to view more of her beautiful creations, please click here.


Thursday, January 6, 2011
Twelve Days of Christmas - Day 12
On the Twelfth Day of Christmas, my true love gave to me...
Twelve Drummers Drumming
by JO ANN
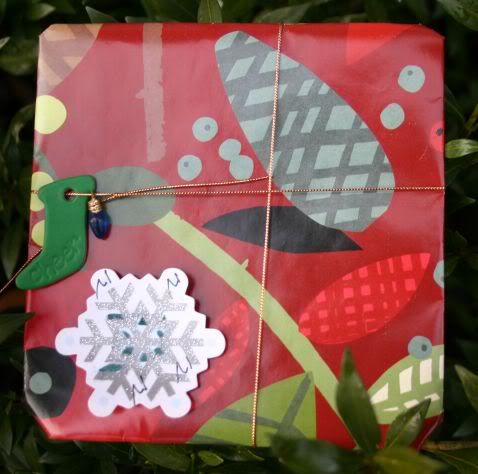
This is the very last piece of the 12 days of Christmas swap but certainly not the least.
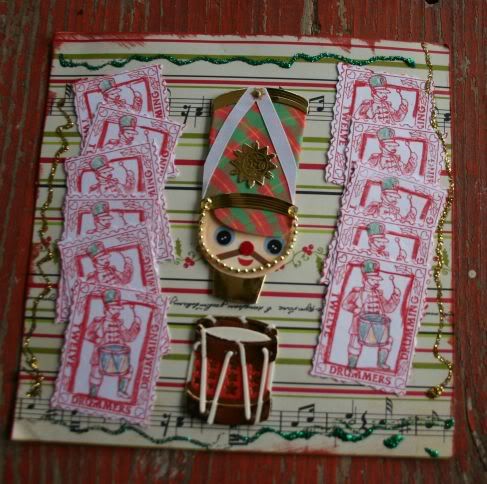
Your drummer art square is beautifully detailed Jo Ann! Jo Ann features 11 postage stamp size drummers on both sides with her twelfth drummer and his drum in the middle over a seasonal page with musical notes and a glitter border.
Twelve Drummers Drumming
by JO ANN


This is the very last piece of the 12 days of Christmas swap but certainly not the least.
Your drummer art square is beautifully detailed Jo Ann! Jo Ann features 11 postage stamp size drummers on both sides with her twelfth drummer and his drum in the middle over a seasonal page with musical notes and a glitter border.
Twelve Days of Christmas - Day 11
On the Twelfth day of Christmas, my true love gave to me...
Eleven Pipers Piping
by: CATH CROMPTON
You may visit her blog by clicking here.
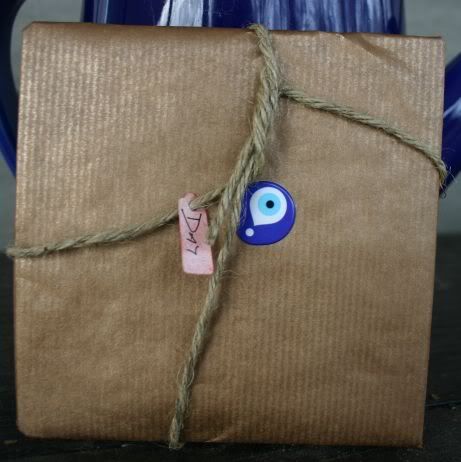
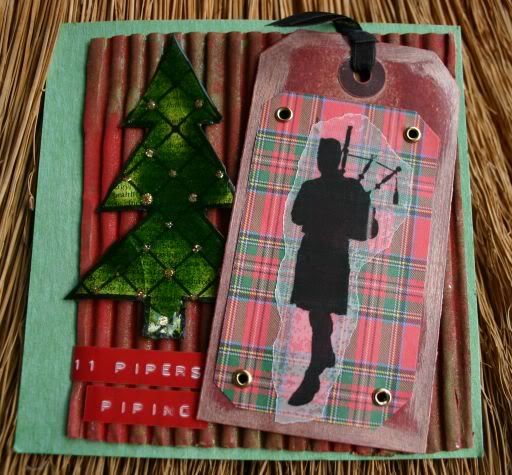
I love the hip wrapping and your wonderful layered creation Cath! It is a wonderful creation that features beautiful colors, a gorgeous tree and a plaid paper behind the piper that reminds one of the kilts they wear.
This is how Cath created her 11 Pipers Piping as described on her blog:
"I started with a basic white card and sprayed it green. Then a smaller piece of corrugated card I painted red then a slight spray with the same green. I then stamped the tree shape on to dictionary pages cut them out and dipped them into my melt pot with green embossing powder in. When dry I added the dots with glitter glue but they all haven't stayed on. The tag was coloured with an ink pad in red then the edges brushed with a copper paint. The piper was printed onto tracing paper ripped out and added to the tartan that was attached with eyelets to the tag. A small piece of ribbon and the wording done on my Dymo machine and that was it."
Eleven Pipers Piping
by: CATH CROMPTON
You may visit her blog by clicking here.


I love the hip wrapping and your wonderful layered creation Cath! It is a wonderful creation that features beautiful colors, a gorgeous tree and a plaid paper behind the piper that reminds one of the kilts they wear.
This is how Cath created her 11 Pipers Piping as described on her blog:
"I started with a basic white card and sprayed it green. Then a smaller piece of corrugated card I painted red then a slight spray with the same green. I then stamped the tree shape on to dictionary pages cut them out and dipped them into my melt pot with green embossing powder in. When dry I added the dots with glitter glue but they all haven't stayed on. The tag was coloured with an ink pad in red then the edges brushed with a copper paint. The piper was printed onto tracing paper ripped out and added to the tartan that was attached with eyelets to the tag. A small piece of ribbon and the wording done on my Dymo machine and that was it."
Tuesday, January 4, 2011
Twelve Days of Christmas - Day 10
On the Tenth Day of Christmas, my true love gave to me...
Ten Lords-a-Leaping
by: KATHY W.
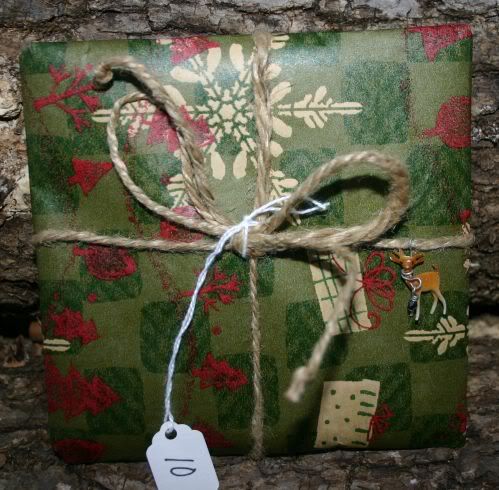
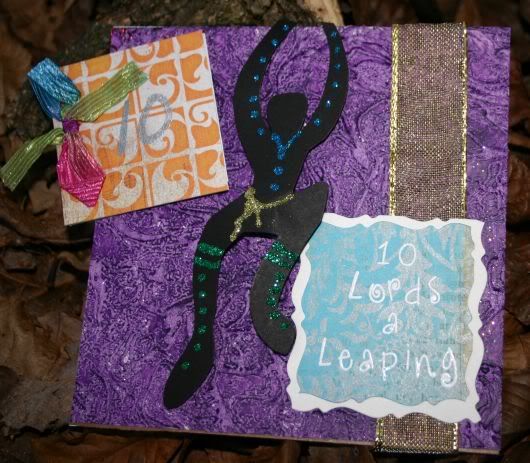
I love the little wire-wrapped deer charm on the beautiful wrapped package and your Lord-a-Leaping Kathy! The art square features a lord accented with glittery details leaping from the gorgeous purple textured background. Kathy also included a beautiful small miniature book about the Ten Lords a Leaping and how it may be based on Morris dance.
Ten Lords-a-Leaping
by: KATHY W.


I love the little wire-wrapped deer charm on the beautiful wrapped package and your Lord-a-Leaping Kathy! The art square features a lord accented with glittery details leaping from the gorgeous purple textured background. Kathy also included a beautiful small miniature book about the Ten Lords a Leaping and how it may be based on Morris dance.
Monday, January 3, 2011
Twelve Days of Christmas - Day 9
On the Ninth day of Christmas, my true love gave to me...
Nine Ladies Dancing
by GINA WISE
Opening this package is bittersweet, as many of those in our art community are aware that Gina has passed on. This is my first swap with Gina and I must say that the amount of detail that she puts into her art is simply breathtaking...
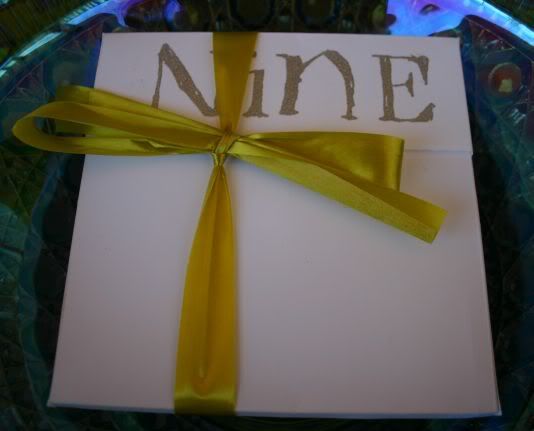
Our wonderful hostess Elizabeth stated on her blog during the 1st 12 Days of Christmas swap that Gina spent an insane amount of time making the little boxes to house the gifts and I believe it! These boxes are immaculately made.
and here is the actual art square...
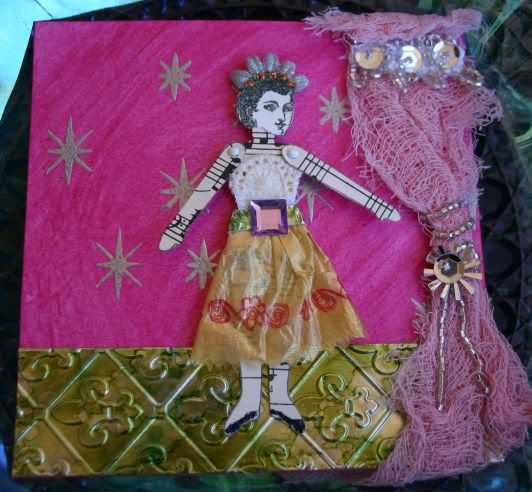
The details of Gina's art is amazing! The dancing lady with movable arms is raised from her background and features a gorgeous glittery headdress, lace top, bejeweled belt, an "embroidered" skirt, and delicate black glittery slippers on her feet. Gina completes the setting by adding an shiny embossed floor that looks to be colored with some alcohol inks, a beautiful pink "wallpaper" with silver stars, and a pink curtain with silver embellishments. Gina was a gifted artist and I am so thankful that I am able to own one of her handmade beauties.
To see her beautiful swan from the first group, please click here to visit Elizabeth’s blog.
If any visitor's have additional links to more of her art, please add the links in the comment section so we may all view more of Gina's gorgeous art.
Nine Ladies Dancing
by GINA WISE
Opening this package is bittersweet, as many of those in our art community are aware that Gina has passed on. This is my first swap with Gina and I must say that the amount of detail that she puts into her art is simply breathtaking...
Our wonderful hostess Elizabeth stated on her blog during the 1st 12 Days of Christmas swap that Gina spent an insane amount of time making the little boxes to house the gifts and I believe it! These boxes are immaculately made.

and here is the actual art square...

The details of Gina's art is amazing! The dancing lady with movable arms is raised from her background and features a gorgeous glittery headdress, lace top, bejeweled belt, an "embroidered" skirt, and delicate black glittery slippers on her feet. Gina completes the setting by adding an shiny embossed floor that looks to be colored with some alcohol inks, a beautiful pink "wallpaper" with silver stars, and a pink curtain with silver embellishments. Gina was a gifted artist and I am so thankful that I am able to own one of her handmade beauties.
To see her beautiful swan from the first group, please click here to visit Elizabeth’s blog.
If any visitor's have additional links to more of her art, please add the links in the comment section so we may all view more of Gina's gorgeous art.
Subscribe to:
Comments (Atom)
