On the Sixth Day of Christmas, my true love gave to me...
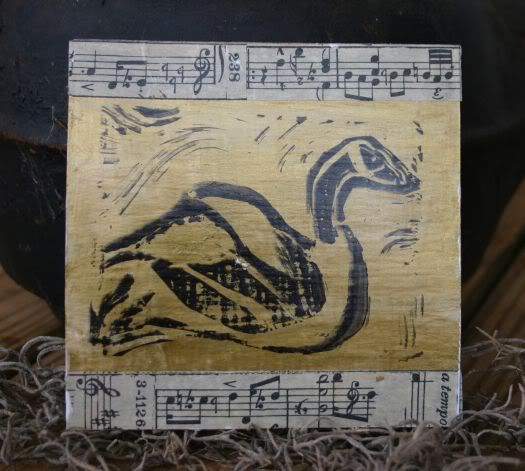
Six Geese-a-Laying
by AMY MCDONALD
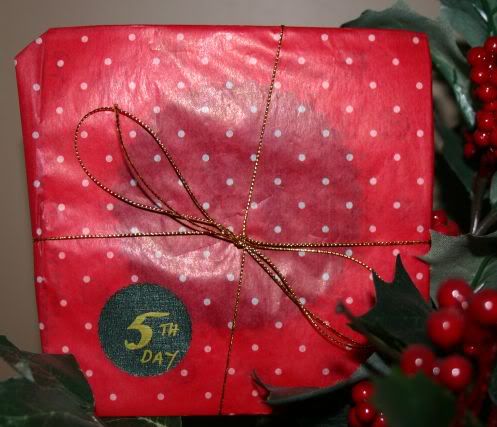
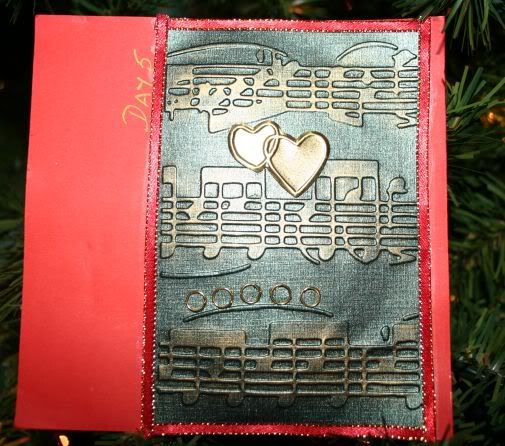
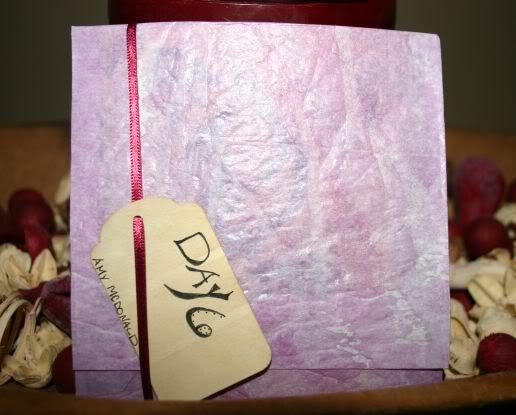
I love the looks of this piece Amy! I love the gold background with the black geese and the sheet music you used goes perfectly with your beautiful creation! Additionally, the wrapping of your piece has a wonderful hue to it. I tried to capture it as best as I could.
I love ALL of the art squares and am currently brainstorming how I am going to showcase these beauties...decisions, decisions, decisions... =)
Friday, December 31, 2010
Thursday, December 30, 2010
Twelve Days of Christmas - Day 5
A Wrapping Paper for Gifts...All Year Long
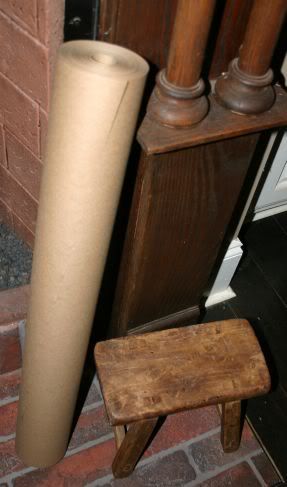
For this Holiday Season, I used Contractor's Paper to wrap all of my gifts. You can find these huge rolls in the painting section of your local hardware store. I absolutely love this stuff because it wraps MANY gifts, it's heavy duty, AND it's a blank canvas. I can continue to use this wrapping paper all year long and give it my own personal touch for each person I wrap a gift for. You can draw, paint, stamp, and collage to your heart's content! Please note that when you are wrapping, you may want to use clear packaging tape (not regular tape) as this paper is a heavy-duty paper.
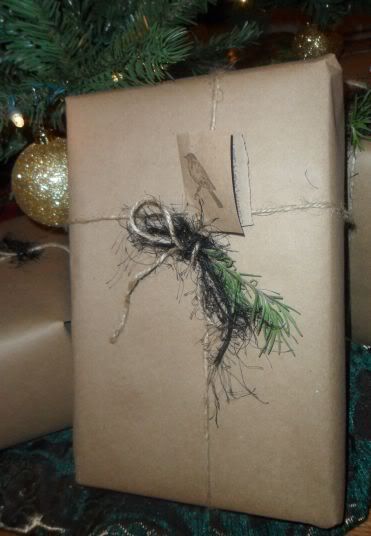
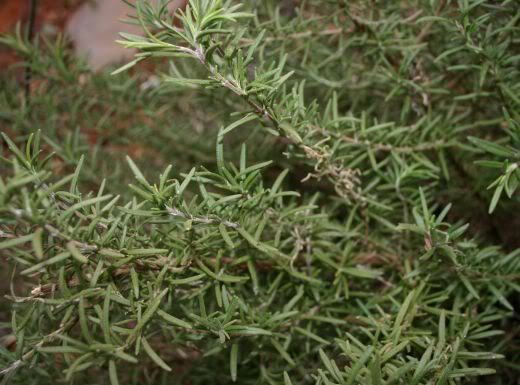
When wrapping my gifts for the season, I kept it simple and went for the more natural look using jute twine and fuzzy black yarn. I used leftover scraps from the contractor's paper to make gift tags, using the same bird stamp from my Twelve Days of Christmas piece. To finish off my holiday gifts, I placed a rosemary sprig from my herb garden on each package.
Rosemary is the perfect addition for any holiday or family/friends gathering as it represents good memories. How could I NOT include a sprig in each gift?
Wednesday, December 29, 2010
Twelve Days of Christmas - Day 4
On the Fourth Day of Christmas, my true love gave to me...
Four Calling Birds
by YOURS TRULY ;)
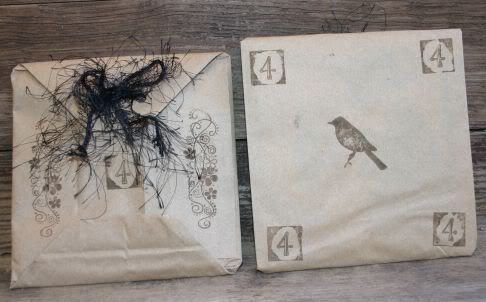
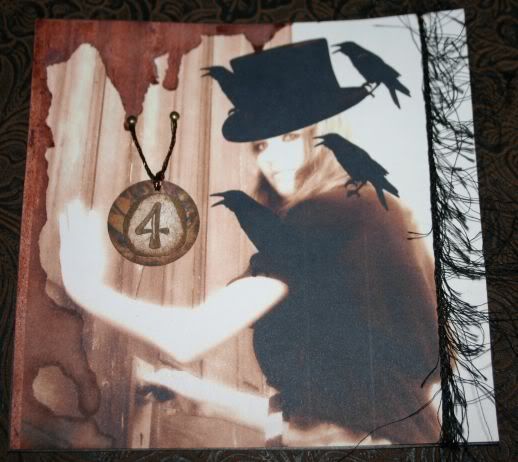
I used a brown paper lunch sack to wrap my Four Calling Birds piece. I simply cut down one of the side seams and cut out the bottom (which I plan to re-use as perhaps as an ATC base or perhaps even tags)...us mixed media artists LOVE to recycle and re-use things. Nothing goes to waste! =) I wrapped the piece and folded the top and bottoms down and also used decorative edged scissors to cut a jagged line across the folded area. I used a paper hole-puncher to punch holes in the top and tie a black fuzzy bow on the package. I then stamped the paper sack using chocolate brown stamping ink.
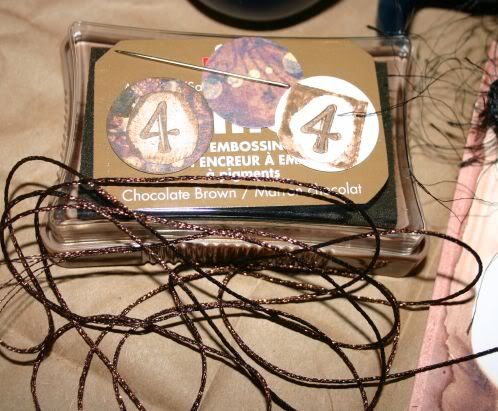
This is a visual of some of the materials used to create the piece.
The photograph used in this piece is one of my own photos...so no worries on copyright issues. ;) I then digitally altered it by using filters along with a sepia tone. It was printed on white card stock paper and then to create an aged look around the left-hand edge, I used brown water color paint and let it run.
For the hanging 4, I used a 1" circular paper punch and punched out several pieces from decorative scrapbook paper. I then used the same 1" paper punch on white card stock paper, stamped the 4, cut around it, then used the Chocolate Brown colored stamping ink on the edges and then lightly pressed over the 4 to give it more of an aged look. The 4 was then glued onto the 1" circle and a needle was used to puncture a hole and run the metallic copper thread through and tied. I then punched two holes into the actual art piece and pulled the metallic thread through, taping it to the back. It was then finished off with bronze mini-brads. For the final touch, I ran the fuzzy black yarn down the side and taped it to the back. The back was then covered with 5"x5" white card stock and black stamping ink was used on the edges and around the writing which explained my interpretation of the Four Calling Birds.
This is what I wrote:
During the holiday season, many people stay busy visiting with family and friends. I am from the southern United States and grew up hearing my elder ancestors say they were "going calling" or "going to call on someone." This phrase meant they were going to visit someone. Hence, my interpretation of the Four Calling (Visiting) Birds.
Tuesday, December 28, 2010
Twelve Days of Christmas - Day 3
Twelve Days of Christmas - Day 2
On the Second Day of Christmas, my true love gave to me...
Two Turtle Doves
by ELIZABETH (our hostess)
You may visit her blog by clicking here.
In Elizabeth's own words on how she created the 2's (as posted on her blog):
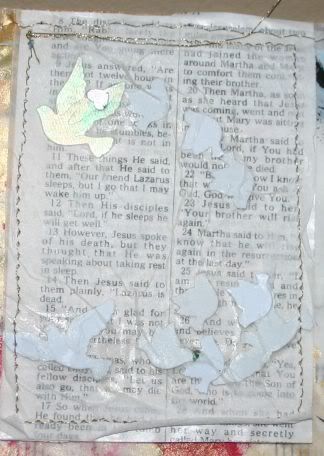
"I hand drew the "2" on wax paper using white glue. I tried to control the glue as it came out, but some of the "2s" are better than others. I spent an insane amount of time placing plastic confetti birds on the glue, and unfortunately, made the "2s" a bit wonky. Next, I added single layers of facial tissue to the tops, using watered down glue. Be sure to dab the glue/water mixture on at this point. The tissue is quite fragile and tears easily. Allow to dry, preferably overnight. After the "2s" were dry, I cut them to size, then backed them (still with the wax paper on them) with dictionary pages, again using white glue, this time full strength again. Then I sewed around the piece."
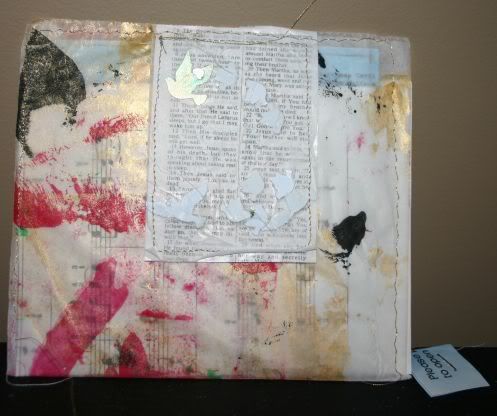
"For the paper, I used some deli paper and painted them fun Christmas colors. Since the deli paper was a bit see through, I backed them with sheet music. Then I inserted the art square gift and sewed the package shut using the longest straight stitch I could get from my machine. I made a small tag and stapled it to the string I left hanging, in hopes the recipient would be able to easily pull the string freely." ~Elizabeth
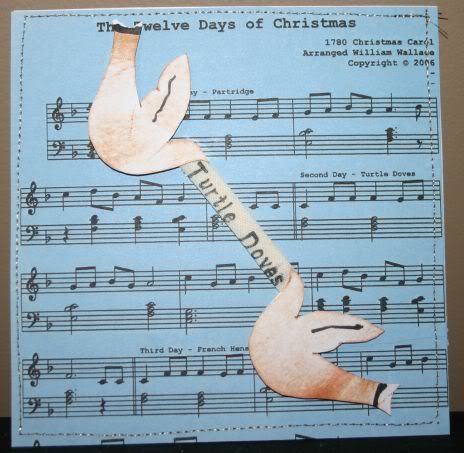
"While I was looking for ideas for pages for the first 12 Days swap (Dec. 13-24), I learned the doves I had created were not turtle doves. In fact, the more research I did, I found that turtle doves are smaller than other doves, and have a beige body. The turtle dove's tail is key, though, because it is wedge shaped, with a dark center with white borders and tips. So I dug out my black marker and beige stamp pad, and went to town on the doves. The words in their beak are stamped (yes, I stamped) on seam binding. It was already doubled, so I didn't have to deal with raw edges. I printed a portion of the 12 Days song, colored it with Staz-on/alcohol mixture, then sewed the front to the back (which contains my personal information). I added the two doves using foam dots for lift." ~Elizabeth
Please visit Elizabeth's blog for additional pictures and to view more of her tutorials!
I absolutely love the wrapping for your creation Elizabeth! I will most definitely be putting it to use somewhere else. It's obvious that you put just as much love and creativity into the wrapping of your art piece as you did the Turtle Dove creation.
Twelve Days of Christmas - Day 1
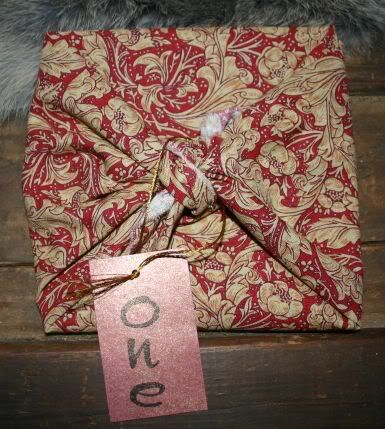
I am a member of the abc_alteredbookclub through Yahoo Groups and participated in a Twelve Days of Christmas gift swap which Elizabeth hosted. Each of the twelve participants were to pick one of the twelve days of Christmas and create a total of 12 pieces for their day in 5"x5" format. Eleven of the twelve pieces we created were creatively wrapped and mailed to our host Elizabeth while we retained one of our creations for ourselves. Once Elizabeth received all of them she mailed the remainder of the 11 days back to us. We were to begin opening the 1st day of Christmas on December 26th.
On the First Day of Christmas, my true love gave to me...
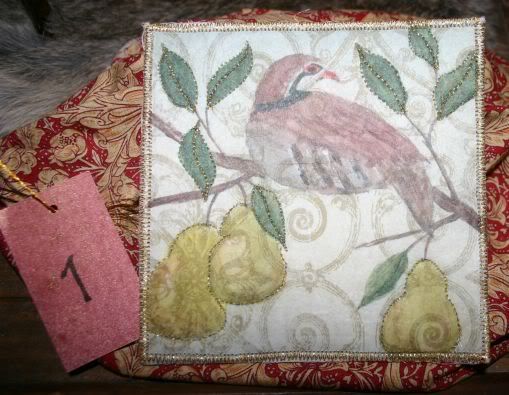
A Partridge in a Pear Tree
by LIZ KETTLE
You may visit her blog by clicking here.
This is how she created her wonderful and gorgeous piece in her own words:
"I began by painting a pear branch and partridge on watercolor paper. I am still very much a beginner with watercolors but think this turned out pretty well! I scanned the painting and reduced it to 5"x5". Then I printed it out on tissue paper 12 times using waterproof pigment inks. My base is a craft stabilizer to which
I used a heat activated fusible web, Misty Fuse, to apply a sheet of gold
scroll tissue paper. I cut these into 5" squares. Next, I used matte medium
to apply the partridge in the pear tree image. The matte medium renders the
tissue paper transparent. I stitched around the pears and leaves using gold
metallic thread to finish up."
I absolutely love your creation Liz! I love the feel and texture of your piece. The stitching is beautiful and if you are saying you are a beginner with watercolors, you are a natural at it!
Holiday Wreath
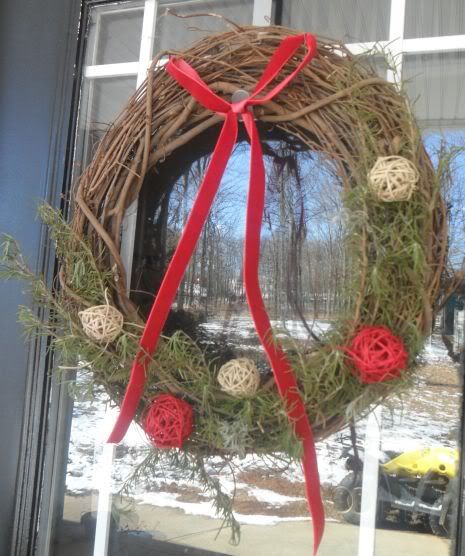
A picture of the wreath I created to hang on our front door for the Holiday season. I used fresh rosemary and lavender sprigs from our herb garden in a grapevine wreath. I then pinned on some potpourri balls for extra color and texture and finished it off with a simple red velvet bow. I love using natural grapevine wreaths to decorate as you can change out the decorations with the seasons.
Sunday, November 28, 2010
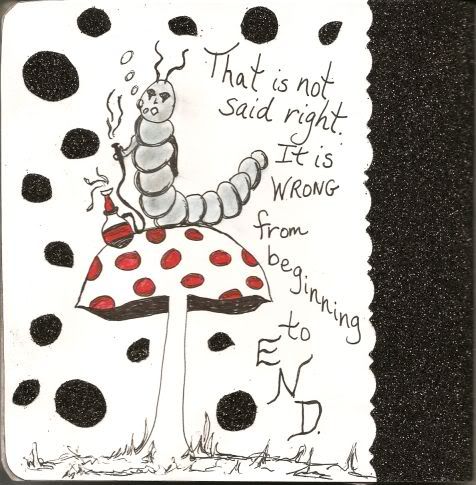
Caterpillar
Here is the last Alice page! The quote was entirely fitting since this is the very last page of the book and the end of the project. =)
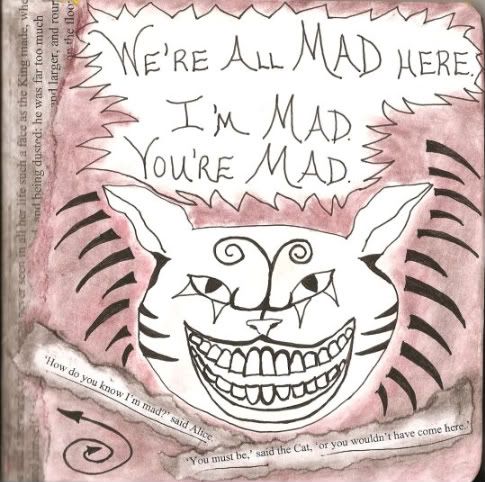
2010 Alice Challenge Book from paperarts group
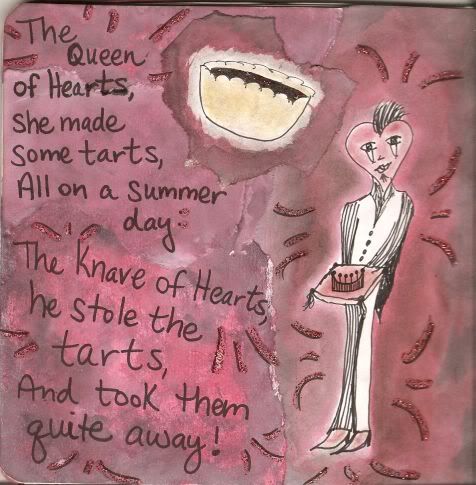
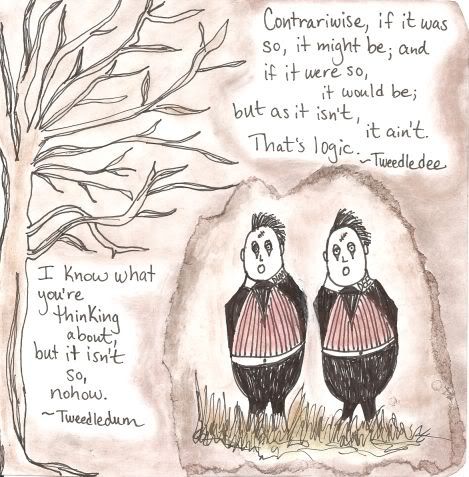
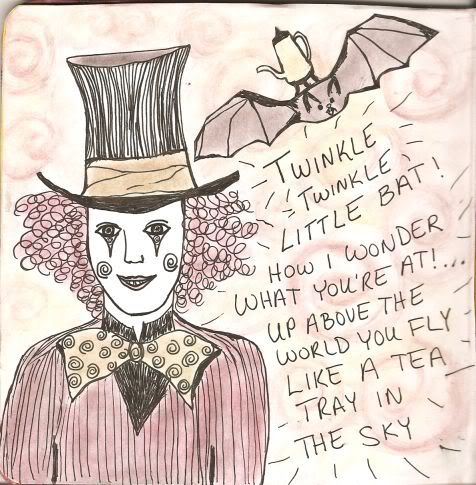
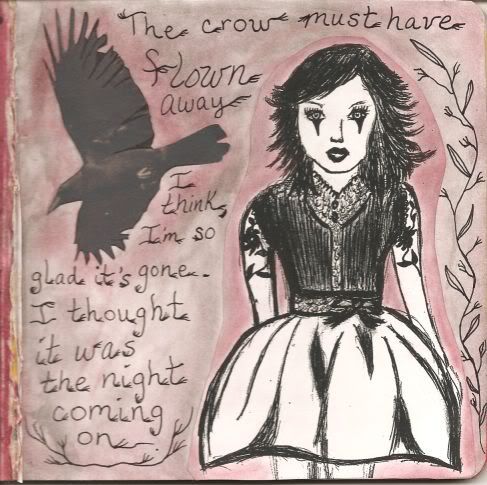
The theme for the year is Alice in which eleven characters are chosen from both
books (Adventures in Wonderland and Through The Looking Glass). On the first of each month a character is announced and a page is to be created using that character.
http://paper-artz.blogspot.com/
Tuesday, November 2, 2010
Thursday, October 21, 2010
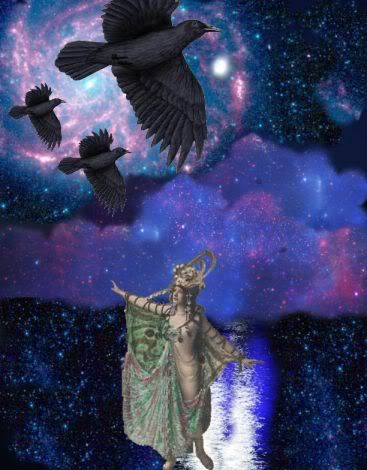
Dark Fairy
Sunday, October 10, 2010
Thursday, October 7, 2010
Another Marie...
Thursday, September 30, 2010
Thursday, September 23, 2010
Thursday, September 9, 2010
Sunday, March 28, 2010
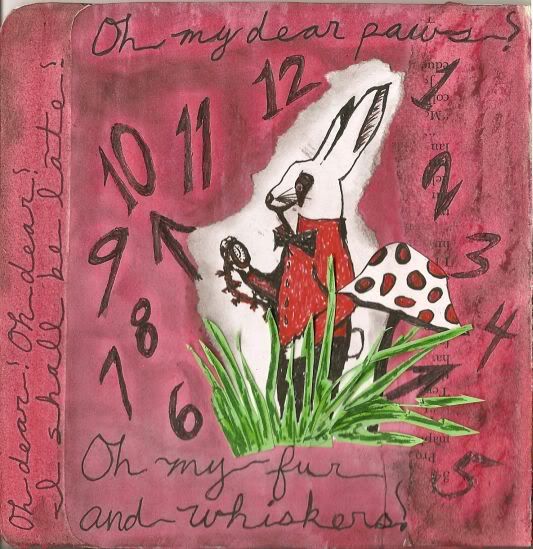
White Rabbit
Pen, Watercolors, Markers, Oil Pastels & Chalk
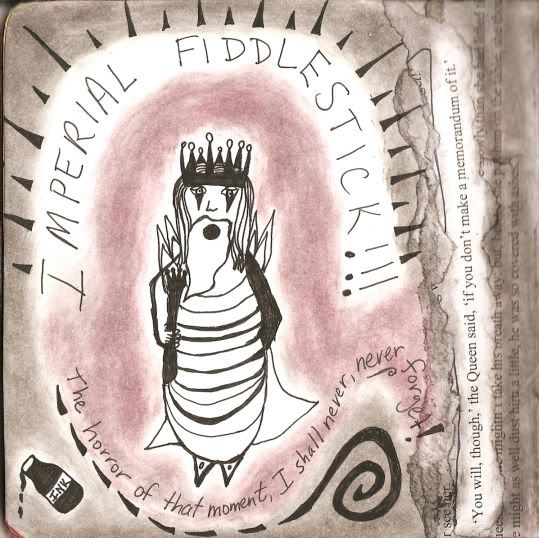
2010 Alice Challenge Book from paperarts group
The theme for the year is Alice in which eleven characters are chosen from both
books (Adventures in Wonderland and Through The Looking Glass). On the first of each month a character is announced and a page is to be created using that character.
http://paper-artz.blogspot.com/
Labels:
alice in wonderland,
altered book,
Mixed Media
Friday, February 26, 2010
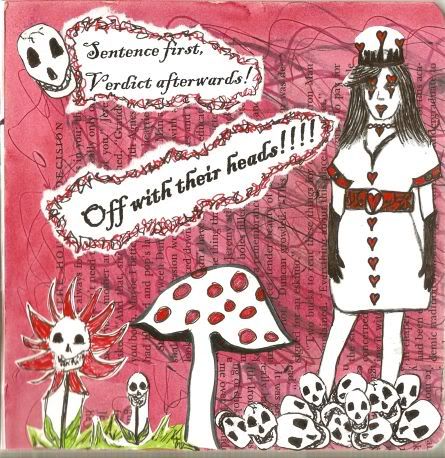
Queen of Hearts
Pen & Watercolors
2010 Alice Challenge Book from paperarts group
The theme for the year is Alice in which eleven characters are chosen from both
books (Adventures in Wonderland and Through The Looking Glass). On the first of each month a character is announced and a page is to be created using that character.
http://paper-artz.blogspot.com/
Tuesday, January 26, 2010
Saturday, January 16, 2010
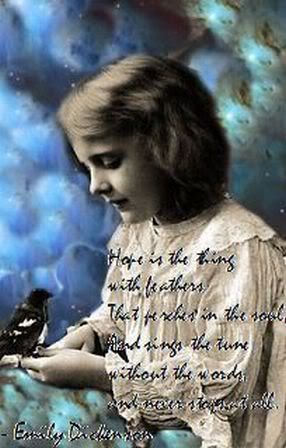
Wings of Hope
Thursday, January 14, 2010
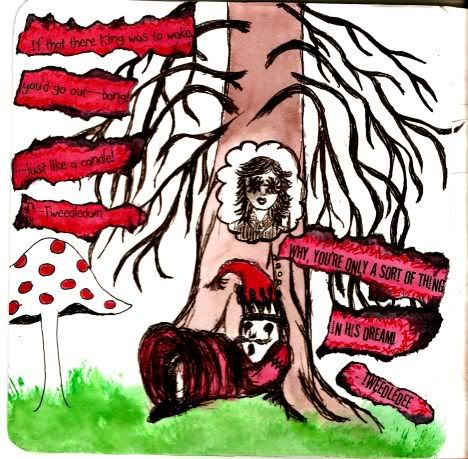
Alice: Red King
Pen & Watercolors
2010 Alice Challenge Book from paperarts group
The theme for the year is Alice in which eleven characters are chosen from both
books (Adventures in Wonderland and Through The Looking Glass). On the first of each month a character is announced and a page is to be created using that character.
Subscribe to:
Posts (Atom)